How to Fit and Install Tile Trim: A Comprehensive Guide
- Share
- Issue Time
- Sep 18,2024
Summary
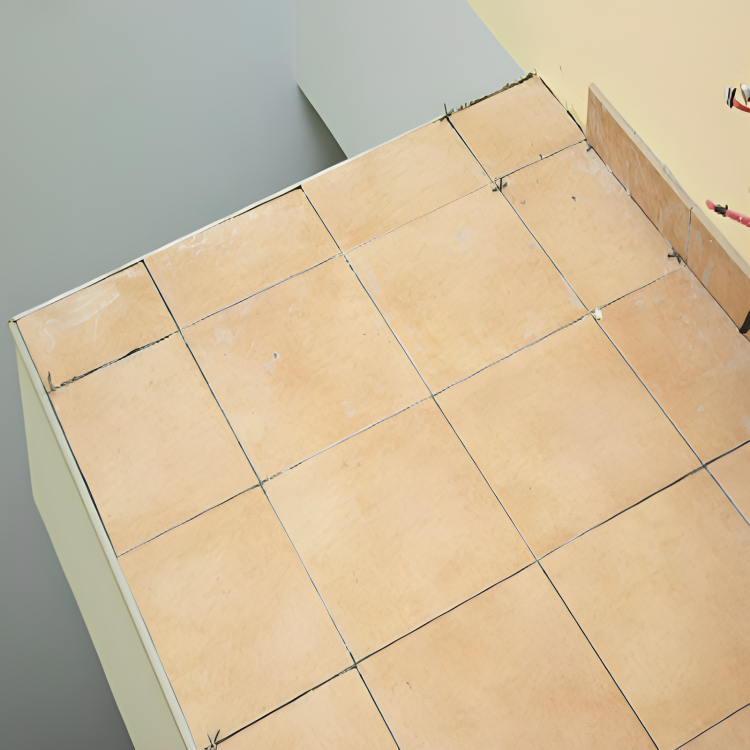
Tile trim is essential for protecting the edges of your tiles while enhancing the overall appearance of your space. Proper installation not only prevents tile damage but also gives a professional finish to your project. This guide will walk you through the process of selecting, preparing, and installing tile trim effectively.

Tile trim is essential for protecting the edges of your tiles while enhancing the overall appearance of your space. Proper installation not only prevents tile damage but also gives a professional finish to your project. This guide will walk you through the process of selecting, preparing, and installing tile trim effectively.
Tile trim is essential for protecting the edges of your tiles while enhancing the overall appearance of your space. Proper installation not only prevents tile damage but also gives a professional finish to your project. This guide will walk you through the process of selecting, preparing, and installing tile trim effectively.
1. Choosing the Right Tile Trim
Before installation, choosing the right tile trim is crucial. Here are the key factors to consider:
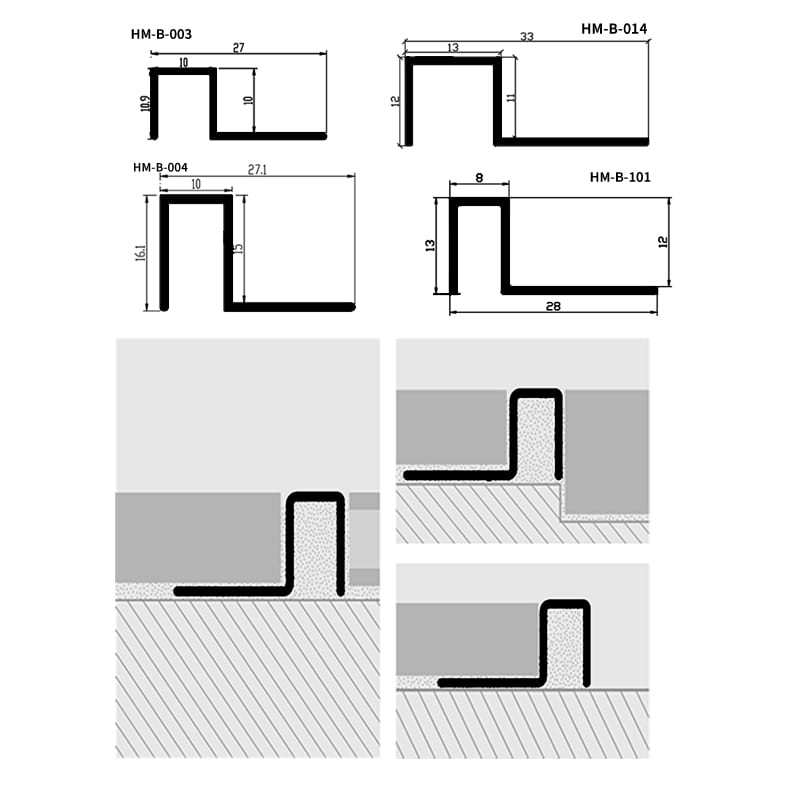
🔴Material: Tile trims come in different materials like aluminum, stainless steel, PVC, or ceramic. Aluminum and stainless steel trims offer durability and a modern look, while PVC is a cost-effective option for less demanding applications.
🔴Size: The trim size should match the thickness of your tiles. Ensure the trim fully covers the edges for a seamless finish.
🔴Style and Color: Depending on your design preference, you can opt for trims that blend in or contrast with your tile color for a bolder look.

2. Preparation Before Installation
Proper preparation is key to ensuring a smooth and efficient installation process:
🔴Tools and Materials: Gather tools such as a tape measure, tile cutter, rubber mallet, level, and adhesive suitable for your trim material. Gloves and safety goggles are also recommended.
🔴Surface Cleaning: Clean the installation area to remove dust and debris. A clean surface helps ensure proper adhesion of the trim.
🔴Measurement and Marking: Use a tape measure and pencil to mark where the tile trim will be installed. This step ensures accurate placement and reduces the risk of errors.
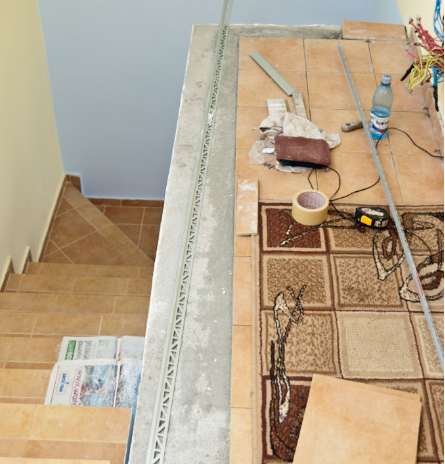
3. Cutting and Fitting the Tile Trim
Once you've prepared your space, it’s time to measure and cut the trim:
🔴Measuring: Confirm the length of each trim piece based on your markings. For corner applications, measure with precision to ensure a snug fit.
🔴Cutting: Use a tile cutter or a manual trim cutter for clean, precise cuts. If you're handling corners, cut both trim pieces at a 45-degree angle to fit them together seamlessly.
🔴Dry Fit: Before applying any adhesive, dry-fit the tile trim to ensure the pieces align properly. Make adjustments if necessary.

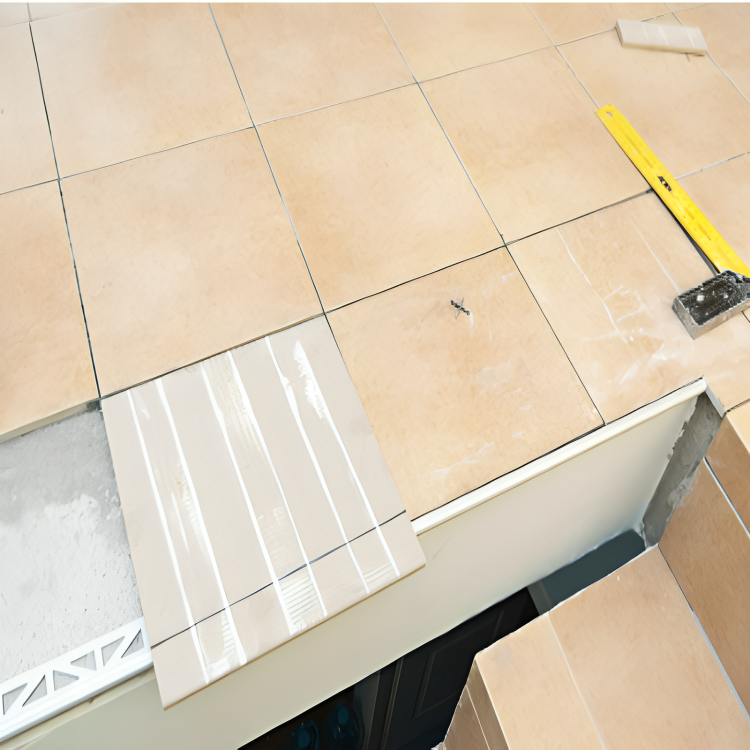
4. Installing the Tile Trim
Now that the trim is ready, it’s time to install it. Follow these steps for an effective installation:
🔴Apply Adhesive: Choose the right adhesive for the trim material. Apply a thin, even layer to the back of the trim and the edges of the tiles. Be sure to cover all bonding areas.
🔴Position the Trim: Gently place the tile trim along the marked area. Use a rubber mallet to tap it lightly, ensuring it sits flush with the tile surface.
🔴Check Alignment: Use a level to verify that the trim is perfectly aligned horizontally and vertically. Adjust as needed before the adhesive sets
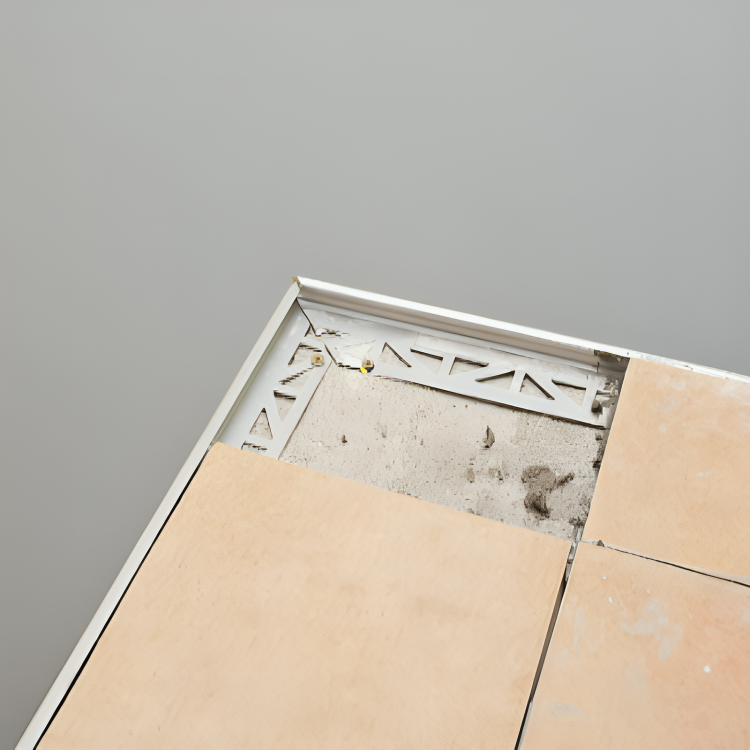
5. Dealing with Corners and Junctions
Corners and junctions require special attention:
🔴Cutting for Corners: For internal and external corners, cut the trim at a 45-degree angle so the pieces fit neatly together. This ensures a professional finish at the intersections.
🔴Fitting and Adjusting: Before applying adhesive to the corner trim pieces, dry-fit them to ensure a precise match. Make any necessary adjustments to avoid gaps.
6. Finishing the Installation
After the tile trim is positioned, focus on the final touches to complete the installation:
🔴Removing Excess Adhesive: Wipe away any adhesive that squeezes out during the installation. A damp cloth works well for cleaning.
🔴Securing the Trim: Allow the adhesive to dry as recommended by the manufacturer, which typically takes 24 to 48 hours. Avoid applying pressure on the trim during this period.
7. Caulking and Grouting
To complete the project, you may need to fill any gaps between the tiles and the trim:
🔴Grout or Caulk: Depending on the installation, apply grout or caulk to seal the joints. Grouting is common for floor tiles, while caulk may be better for wall installations where flexibility is needed.
🔴Smoothing: Once applied, smooth the grout or caulk using a damp sponge for a clean finish. Allow it to dry for 24-48 hours.
8. Final Inspection and Maintenance
After installation, inspect the work to ensure everything is secure and visually appealing:
🔴Inspection: Check that all trims are tightly fitted and that the finish is smooth and polished. If there are any imperfections, they can be corrected before the grout or adhesive fully sets.
🔴Maintenance: Tile trims are generally low-maintenance but should be cleaned regularly to preserve their appearance. Depending on the material, some trims may require more care than others.
Conclusion
Installing tile trim is a straightforward process when approached methodically. By following the steps outlined in this guide—from choosing the right trim to applying adhesive and finishing with grout or caulk—you’ll achieve a professional result that enhances both the durability and aesthetics of your tiled space. Take your time, prepare properly, and enjoy the polished look that quality tile trim provides.
lAbout DYM:
DYM is a premier provider of tile trim solutions, offering an extensive and diverse range of products that enhance the functionality and aesthetics of tiled spaces. With a relentless commitment to customer satisfaction, DYM Company continually endeavors to provide innovative resources and solutions for homeowners, designers and industry professionals.
lWhy choose DYM:
ØWith more than 20 years of rich experience, we can meet diverse design needs.
ØMade of high-quality aluminum material to ensure long life and durability.
ØContinuous innovation of tile trim with modern technology to provide the best solutions.
ØHigh-quality professional customer service to provide you with the best experience.